How Simple Photography Products
With my portfolio , you need to find a way to stand out among the numerous products of other designers . A select how often you self shoot their own products .
Your product will be known to all the different ways , different from the other designers to help you get to know other people and not to be confused with anyone . Here I ‘ll show you how to take your product simply and efficiently .
The materials and equipment needed .
1 . White light .
The main reason to need white light – halogen is more simple – buy in stores electrical appliances, we help your products natural harmony in the light ” day ” . The light helps you see the product thoroughly clear away the shadows and unnecessary .
2 . table Lamp
A table lamp can be adjusted flexibly to actively help you choose the arbitrary direction . This gives you the option of directing the shadows for a reasonable product . You can combine many table lamps to get together like the light and eliminates ghosting in many different sides .
3 . Large sign in the background .
The color of the sheets of paper will create the atmosphere of your portfolio . Preferably you should have wires finer material is raw material . Or you can use a white cloth as background smooth but it is often very easy to be wrinkled and dirty , it is best to use paper to capture .
4 . A DSLR or a camera can adjust the aiming point .
As a designer , the camera is an indispensable tool difficult , not only helps you capture ideas , but also help you show off your products . A DSLR is right for you , if you do not have much budget , you can choose the old machine in about 5 – 10 million .
5 . Tripod – Tripod
Tripod use to make sure your image is sharpest .
6 . Press the remote cable
Press the remote cable used with a tripod to make sure you do not touch the machine , avoid small vibrations for extra sharp images .
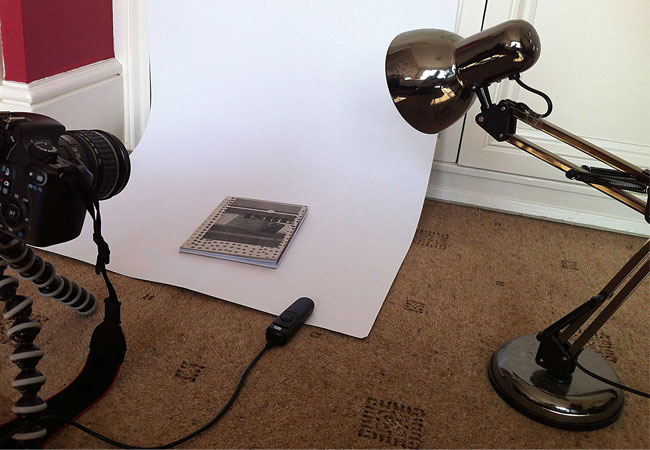
01 – graphic -design – portfolio
Nevertheless , the capture of your product in a well ventilated space better . But no matter if your room is a little messy . But note there are many farm siting of sunlight , this product will help your sharpest .
Step 1 : Find inspiration.
Before taking a product , you should refer to the angle of the picture on the many other designers . Behance page is a place more suited to your idea before shooting .
Step 2 : Sort products
The next step is to put in place appropriate lights . The set lights would reasonably create shadows reasonable . If you use 2 or 3 different lights will light the shadows on the image.
If you want a picture depth , I recommend that you place a small object below the product to create a small tilt .
Step 3 : Find point to focus ( focus point )
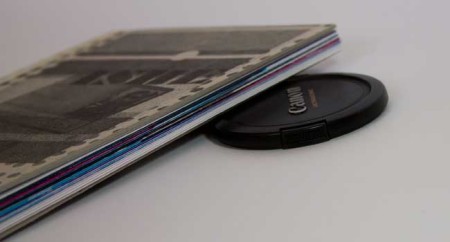
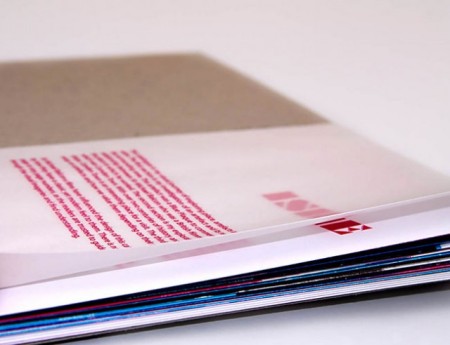
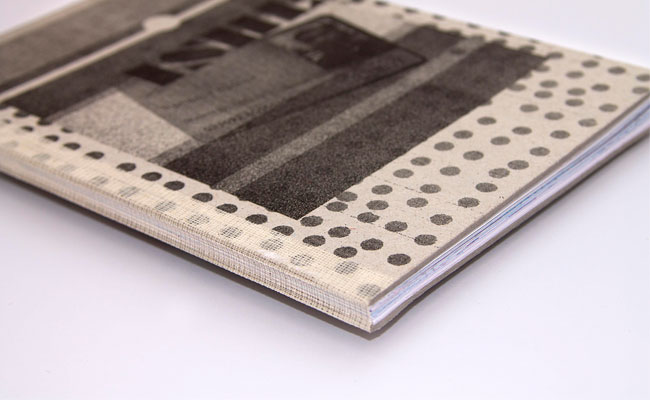
The focus is very important when shooting products . In the picture below , I want to point out technical than French ( french folding ) .
Step 4 : Installing the camera
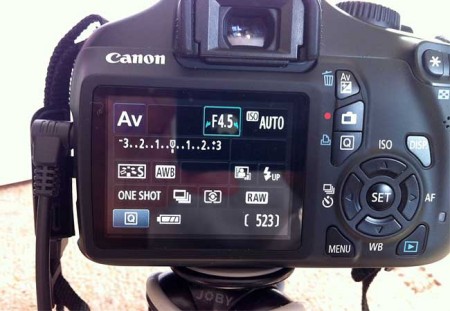
ISO should be at about 100-200 . It makes the picture smooth and crisp . If you want to focus on products and other fuzzy things , changing to AV ( aperture priority ) and use a low aperture . In this case I to import is 4.5 .
Step 5 : Try many different positions
To try different positions , make sure that each product is taken several times at different angles . This Diey your product different and unique .
Step 6 : Take a product from above
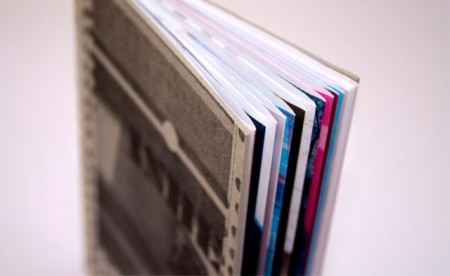
If you plan to shoot a book , it is better to machine high above . It helps you get the full picture and keep the same layout .
Editing pictures
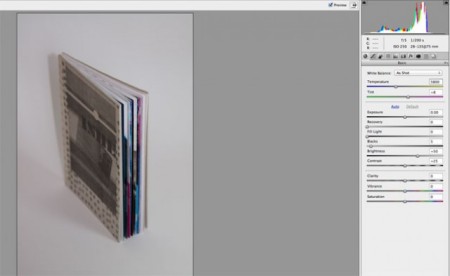
You should shoot images in RAW format , it helps you to customize a lot of things on the picture . White balance , exposure … trying to index similar to the picture there is a consensus .
What about you ?
You do certainly had taken its products ? Please leave comments to the way we have taken good product .

